- Home
- Installation
Installation
Step by step instructions for installing your wallpaper. For best results, use a professional installer.
If you experience any issues or have any product concerns while installing your wallpaper then please contact us with photos at the earliest possible chance. We recommend that you do not continue installing the wallpaper if there are issues.
Paste the wall (see bottom of page for notes on Peel & Stick & Luxury Paper Types)
Below, we have provided a guide on installation for both patterns and murals. Before installing, we would recommend allowing the wallpaper to aclimatise to your room temperature to avoid shrinkage. We recommend the following tools for installing your wallpaper;
- ‘Paste the wall’ adhesive (not applicable for peel & stick)
- A bucket (not applicable for peel & stick)
- A pasting brush (not applicable for peel & stick)
- A squeegee (only applicable for peel & stick)
- A sharp knife
- A straight edge
- A clean microfibre cloth
- A spirit level
- A wallpaper smoother tool

Pattern: Initial preparation
Before applying wallpaper, your wall needs to be smooth and clean. Remove old loose wallpaper, cracking and peeling paint, nails, and screws. Make sure to sand down surfaces and fill holes and cracks on your wall.

Pattern: Measure & cut
Measure the height of your wall, then mark the measurements on the back of the wallpaper. Cut your first strip by keeping 100 mm vertical excess for variations in the height of your wall. Refer to the specific product page to determine the match type and pattern repeats before matching the design up. If you have our 'luxury' paper type, lightly wet the back of the paper and leave it for 5-10 minutes before hanging.

Pattern: Paste the wall & begin hanging
After you have mixed your paste according to its instructions, paste the wall and begin hanging your wallpaper from the top downwards. Be careful when cleaning away excess paste so inks aren't rubbed off the paper. Make sure to do this only with a dry cloth. If the cloth is wet or damp then it may rub away the inks.
To improve accuracy you can measure the strip width, then mark it on the wall lightly with a pencil. Use a spirit level to draw a vertical line from the ceiling to the floor by keeping the mark as a guide.

Pattern: Continue hanging
As you hang the wallpaper, smooth away all the ripples or bubbles using a soft, dry cloth or smoothing tool. When hanging other strips, make sure to avoid overlapping them. Match the images or patterns, and paste the wallpaper edge to edge. If you press the strips firmly, the seams will not be visible. While wallpapering, be careful with the paste, and if it gets on your wallpaper’s surface, wipe it with a clean dry cloth. Do not use a wet or damp coth for this, otherwise it could rub off the ink.
Once installed ensure the wallpaper dries at room temperature for at least 24 hours and doesn't suffer any major changes in temperature or humidity.

Mural: Initial preparation
Before applying wallpaper, your wall needs to be smooth and clean. Remove old loose wallpaper, cracking and peeling paint, nails, and screws. Make sure to sand down surfaces and fill holes and cracks on your wall.

Mural: Prepare your panels
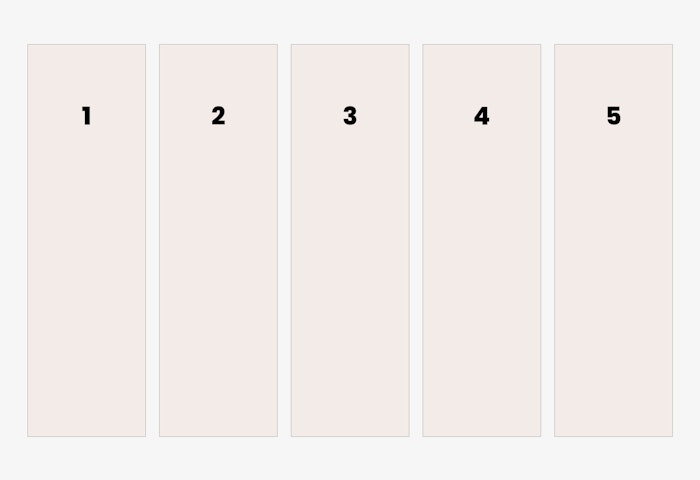
Each panel will arrive labelled and as a roll. You should unroll all panels and identify the order that they need to be hung in from left to right. If you have our 'luxury' paper type, lightly wet the back of the paper and leave it for 5-10 minutes before hanging.

Mural: Paste the wall & begin hanging
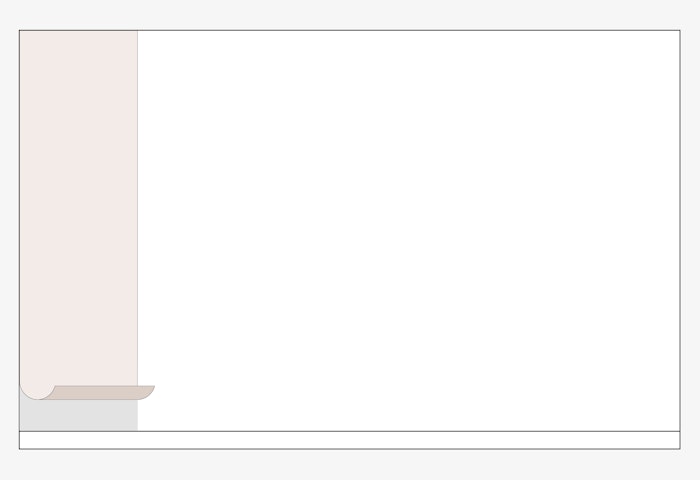
After you have mixed your paste according to its instructions, paste the wall and begin hanging your wallpaper from the top downwards. Be careful when cleaning away excess paste so inks aren't rubbed off the paper.
Your mural has been printed slightly larger than your dimensions to create excess. When installing your first panel, ensure to use the vertical excess (typically 50mm / 2 inches). This will help with uneven walls.

Mural: Continue hanging
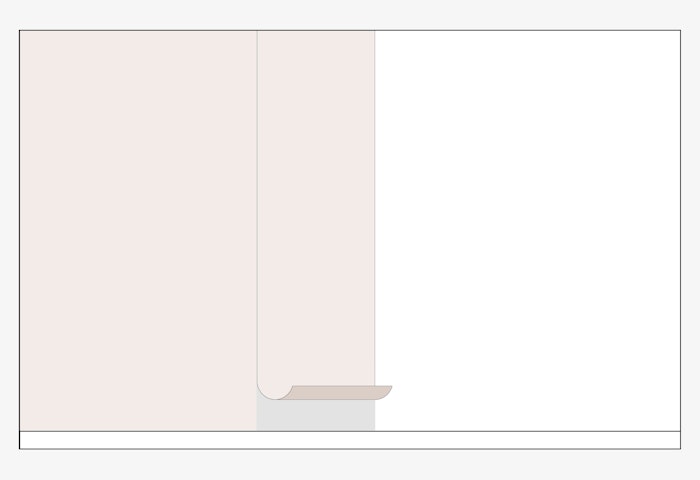
As you hang the wallpaper, smooth away all the ripples or bubbles using a soft, dry cloth or smoothing tool. When hanging other strips, make sure to avoid overlapping them. Match the images or patterns, and paste the wallpaper edge to edge. If you press the strips firmly, the seams will not be visible. While wallpapering, be careful with the paste, and if it gets on your wallpaper’s surface, wipe it gently with a clean cloth.
Once installed ensure the wallpaper dries at room temperature for at least 24 hours and doesn't suffer any major changes in temperature or humidity.
Peel & Stick
For our Peel & Stick paper, you can follow the same instructions as a above. However, instead of pasting the wall, you simply peel off the release liner and apply the wallpaper to the wall with plenty of pressure. If you see any air bubbles during installation, squeegie them out. Ensure the edges are firmly sealed flat to the wall.
Luxury
Note that our luxury paper is still paste-the-wall application, however, you should lightly wet the back of the paper and leave it for 5-10 minutes before hanging. To do this, wet a sponge in a bucket of water and then ring it out and rub the sponge evenly across the back of the paper. Then, fold the paper back on itself, allowing it to rest without air drying. Once left for 5-10 minutes, begin hanging.